A Simple and Cheap Recording Setup for Online Lecturing
Tags: research, howtos
The pandemic changed the way many of us work, making remote work often a necessity.1 As a ‘glass-half-full person’ and an early-career researcher,2 I understood that I would now have more opportunities to disseminate my research to a larger audience. This required levelling up my game when it came to producing video content, and I want to use this post to provide some more details about my current setup.
Caveat lector: I use this setup primarily to record my lectures and talks before putting them on my YouTube channel. There is a lot of potential for improving different aspects of it, but I feel that in its current state, my setup is pretty much a local optimum in the cost–benefit landscape. Nevertheless, I am an academic, so my livelihood does not depend on the money that I might make with my videos3. This post is therefore primarily for those that are unsure how to get started with improving their lectures for the remote world we are living in for the time being.
The ingredients
To get started with improving your videos, you only need a few things:
- High-quality content
- A good microphone
- A video light
- A tripod
- Additional software for voice-overs and video editing
Except for steps 1 and 2, all steps are optional. Concerning step 1, I can only give you a few tips on giving a great talk, so you are pretty much on your own there. Let’s move on to step 2, the microphone.
A good microphone
Your laptop probably has a builtin webcam and microphone. While the former is typically pretty good already, the latter often is not. Buying an external microphone is the single most useful purchase you can do to markedly improve the quality of your audio—and thus, the quality of your talks. For my own setup, I bought the Blue yeti microphone:
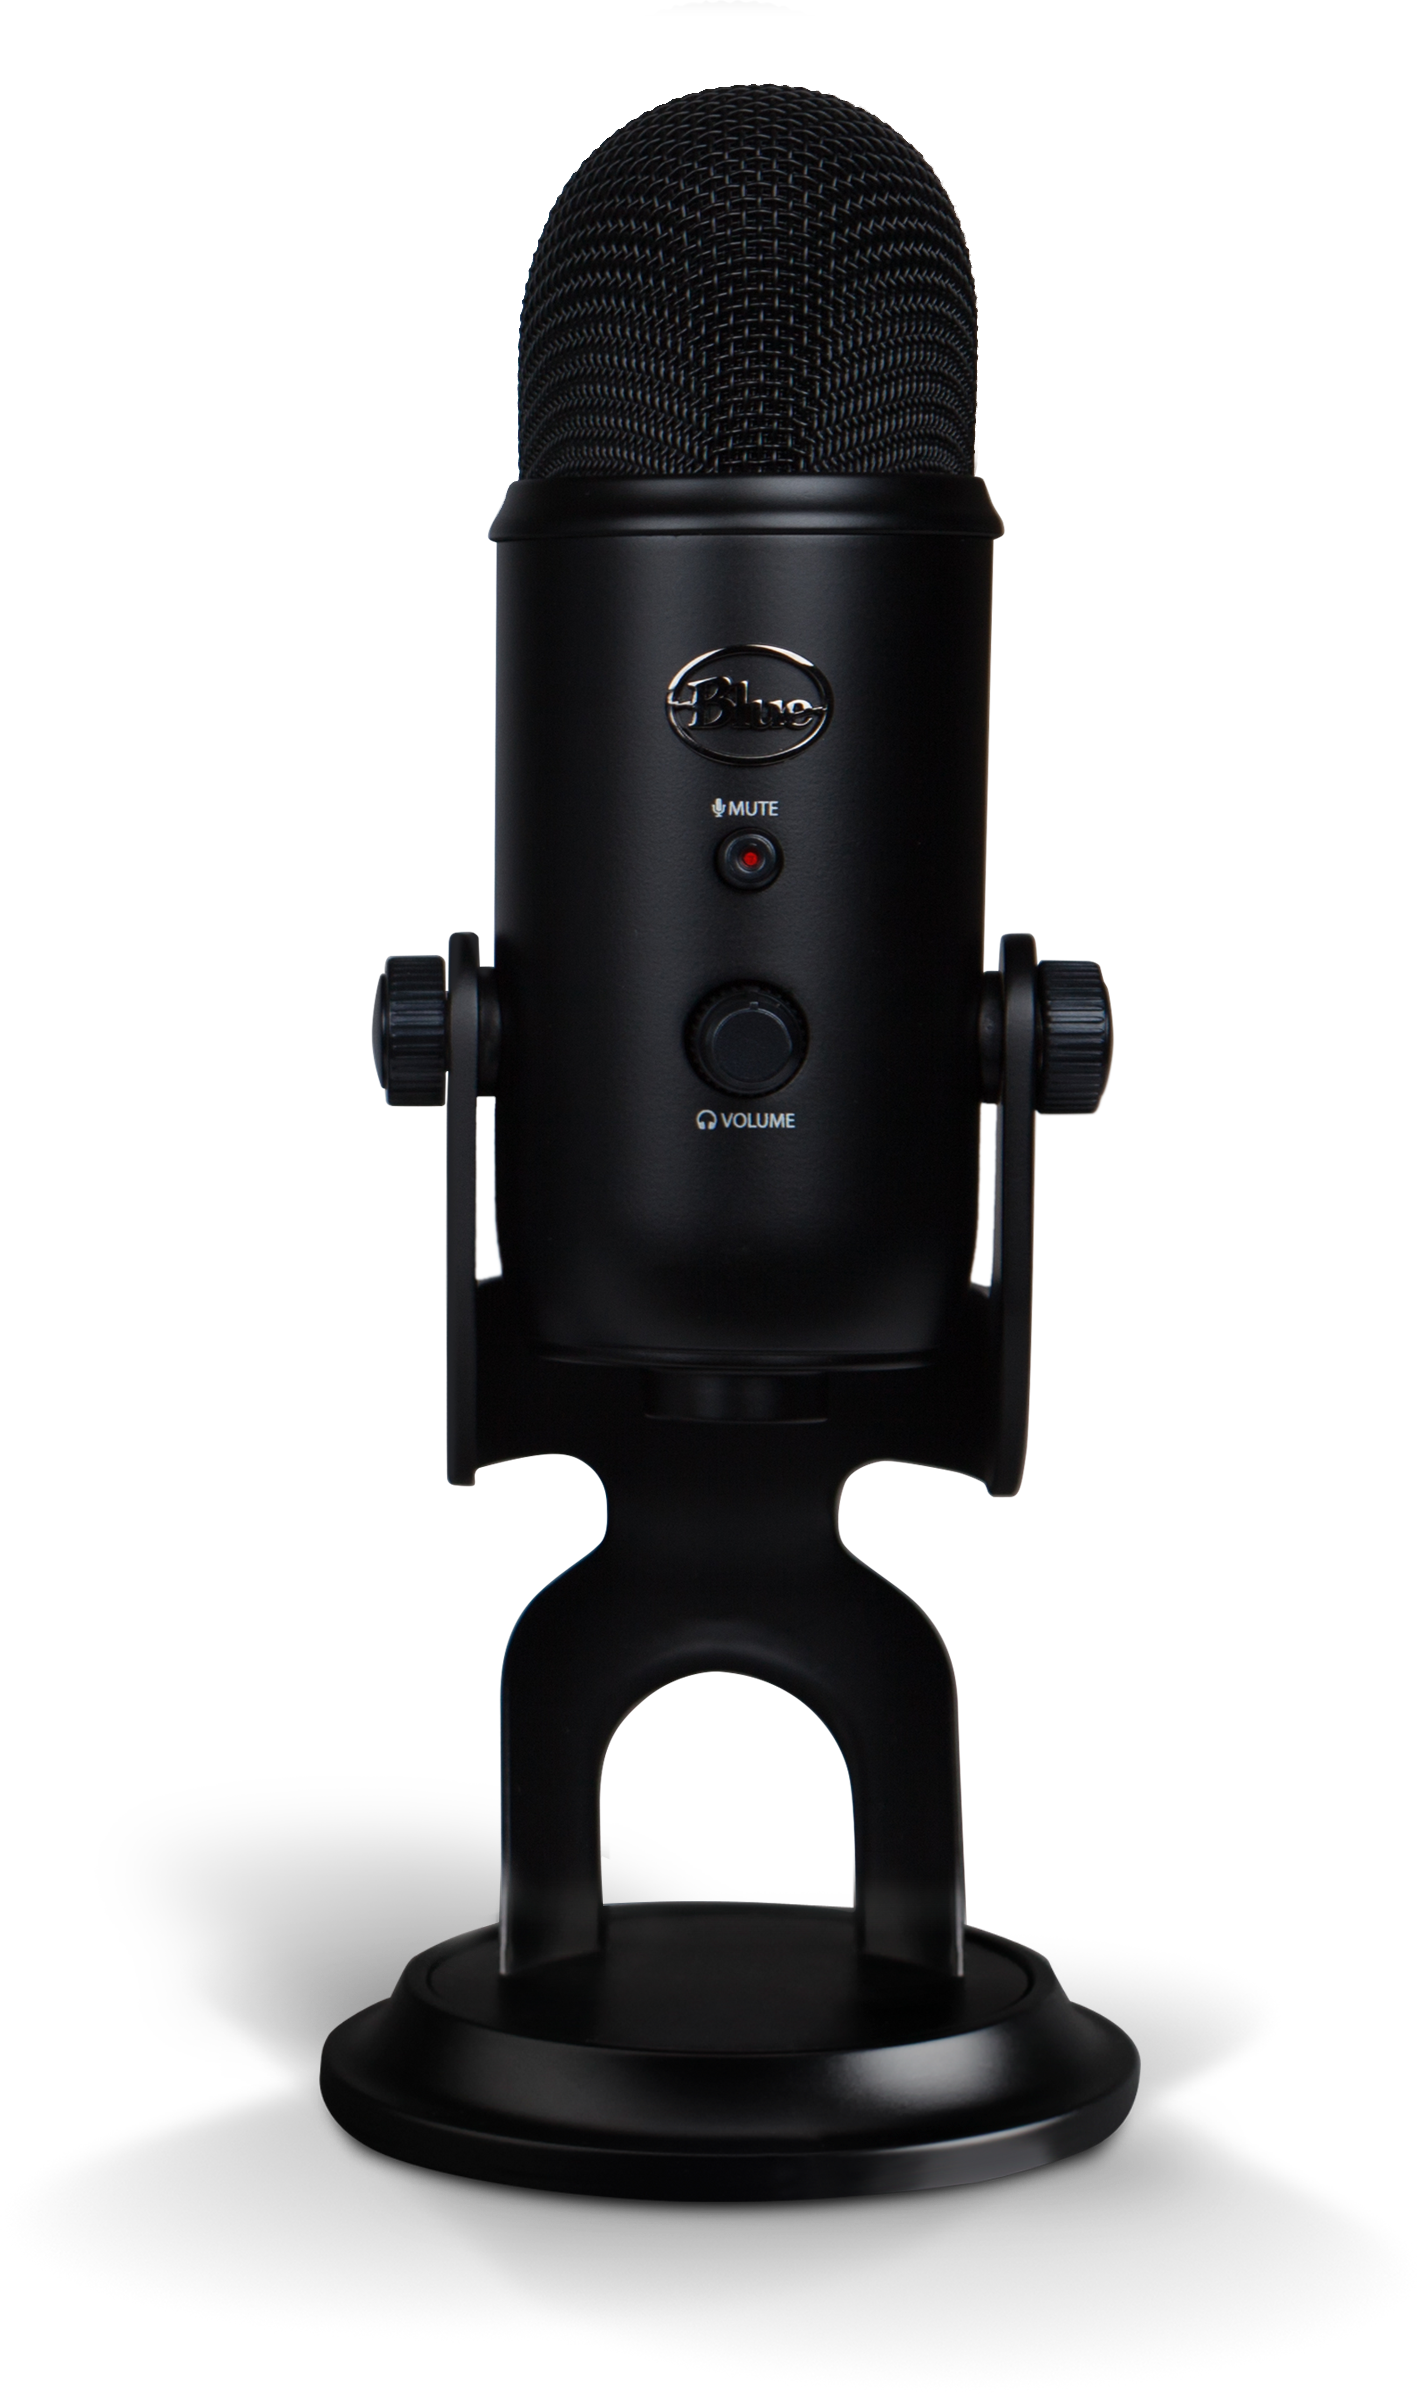
With a price of around 130 USD, it is very affordable while at the same time offering good audio quality. I particularly appreciate the mute button with its LED, which makes participating in conferences so much easier. The ‘yeti’ also comes with different profiles. I use the cardioid pattern, meaning that the microphone is most sensitive at its front, less sensitive at its side, and completely insensitive at its rear. Hence, the microphone will not pick up fan sounds coming from your laptop, for instance.
You can get microphones for lower prices as well—the Blue snowballice only costs around 50 USD, while still offering you sufficiently high sound quality.4 If you can afford it, the larger microphone will be well worth its price, though—it is sturdy, can be installed easily on a boom arm, and offers multiple recording patterns, thus covering your future needs as well. I like the fact that the ‘yeti’ has several hardware buttons to control the gain of the microphone, for example. This means that I do not have to install another piece of software on my laptop and can easily adjust settings.
If you want to buy another brand than Blue, make sure that your microphone can be adjusted with respect to its recording sensitivity and that it lets you choose a cardioid recording pattern. I would steer clear of all microphones that only permit omnidirectional recording; they are much more likely to pick up sounds that they should not pick up.
Using the microphone
Make sure to leave sufficient space between yourself and the external microphone. The best thing you can do is to record yourself while talking into the microphone to see whether everything has bee adjusted correctly. I find it sufficient for my setup to place the microphone next to my computer when recording. If this is not an option or you want to be more flexible here, consider buying a ‘boom arm’ for the microphone or a desk mount.
To further ’level up’ your audio quality, you might think about installing a pop filter. I have not yet used one for prolonged periods of time because I found that there is not much of a difference for the content that I produce, but your experience may well be very different.
By the way: I find it best to buy things incrementally—if I observe that I need something multiple times in a row and it would add a tremendous amount of value, it goes on my ‘consider buying list’. I am rather slow in buying things on an impulse, though, because I feel that my gear far outmatches my abilities at present.
A video light
Good lighting is key in videos. If your audio quality is good, your audience can probably live without seeing your face—nevertheless, seeing a person give a talk makes the content much more engaging in my opinion. My own desk suffers from slightly awkward placement; I have a window behind me, which often results in large jumps in brightness. To counteract this, I finally bought a video light. The idea of such a light is to ensure that your face is well-lit. I do not want the video light to replace all lighting in my apartment, but to complement it.
As a photography buff, I picked the Aputure Amaran AL-M9 portable video light. Looking a little bit like a cassette tape,5 this light comes pre-packed in a small pouch, which is convenient for taking it with me to use it in different locations. The AL-M9 has 9 different brightness settings and 9 different LEDs, making it an excellent light for videos that need to contain close-ups of my face. It can be charged using micro USB and can last up to 13 hours at minimum brightness and 1.5 hours at maximum brightness. I refrain from this setting, though, because it feels as if I share my space with a supernova. The AL-M9 is equipped with a diffuser plate (to reduce shadows) and comes with some gel filters to control the colour temperature. In my own experiments, I found it sufficient to just use the light ‘as-is’, i.e. without any addition gels. With a price of around 50 USD, this is an excellent choice of video light.
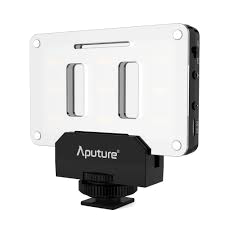
Again, other lights might work just as well here. I am a little bit wary when it comes to bigger ‘ring lights’, though, that are supposed to be installed on your smartphone or your laptop: ideally, I want to have more control over the direction of the light; plus, the reflections are relatively large and hard to control in my opinion. Since the AL-M9 also doubles for my photography sessions, I found this to be an easy choice.
Many additional options exist here; I have heard some people achieving good lighting with LED clamp spotlights, but you have to ensure that the light is not blinding you, so a diffuser—potentially built from sandwich paper—is a must if you want to build something like this yourself.
A tripod
The video light by itself is useless if you cannot mount it properly. The AL-M9 comes with a standard mounting plate that is compatible with all tripods. Since the AL-M9 weighs less than 150g, you can mount it on every tripod—it does not have to be particularly sturdy. When putting the light on my desk, I use my GorillaPod 3K, which gives me a lot of flexibility as to where to put the light. Plus, it just looks nice:
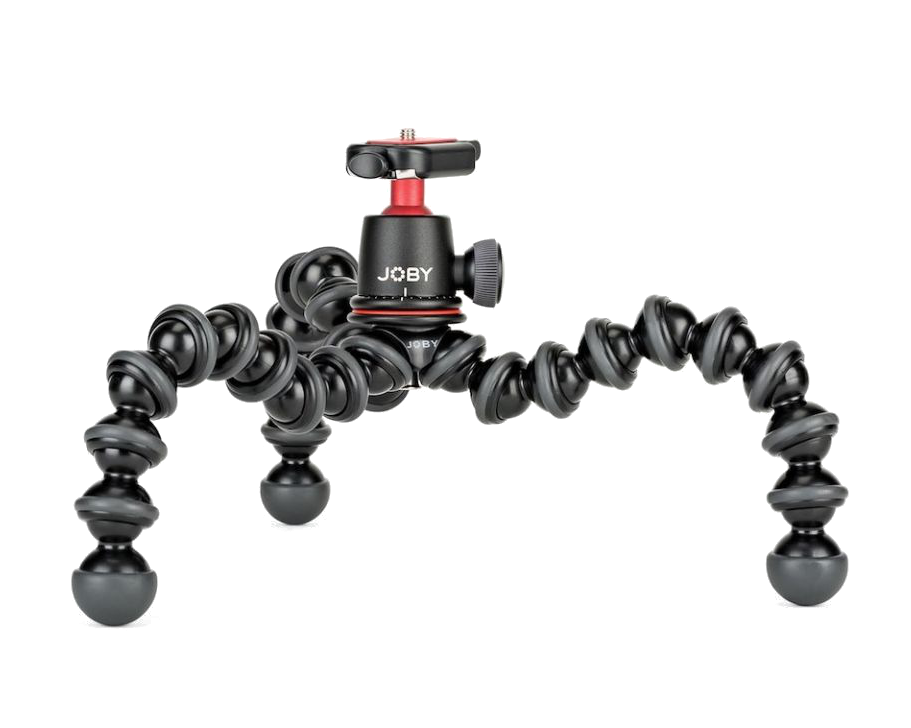
As you might have guessed, I am using the GorillaPod also for photography. At around 45 USD, this tripod might be a little bit expensive if you only use it to record videos. However, provided that you use a low-weight video light such as the AL-M9, you can get away with almost any lightweight tripod, even the very basic Mini Tripod offered by AmazonBasics. Just make sure that the video light can be adjusted to your particular recording setup! You might also experiment with velcro patches, for example if your selected video light is not too heavy.
Additional software
This brings me to the last—and arguably least important—ingredient, namely some software. Let’s start with audio recording software. I only ever used this for some brief spotlight videos about my research, such as this one on fMRI data analysis. I wrote down every sentence I wanted to say and recorded them individually using Audacity. I then used Adobe Premiere6 for putting the audio snippets next to the video—but this is clearly overkill for most occasions. In fact, unless you feel comfortable doing so, I would refrain from larger editing tasks, such as adding transitions etc.; providing research videos like the aforementioned one will require significantly more effort than ‘just’ streaming a lecture.
I nevertheless found Avidemux to be an indispensable tool for smaller/shorter editing tasks, such as removing awkward pauses, transitions between lectures, or anything else I do not want to be kept for posterity. It is simple to use and more than sufficient for my current needs. Being open-source, it will not even put a dent in your budget!7
That’s a wrap!
My recording setup for online lecturing is still pretty simple, but so far, I am deriving a lot of enjoyment from it. If you want improve the quality of your online lectures and talks, the primary ingredient that you need is a good microphone (and good content of course). Anything else, such as video lights and tripods, is optional. Nevertheless, with a budget of less than 250 USD, you can get all of these things—a worthy investment, given that the future will likely entail more online teaching in any case.
Happy recordings, until next time!
-
And a privilege that is not bestowed upon anyone. But this is a different story for a different post. ↩︎
-
At the time of writing this, I am on the job market, so please reach out if you have an offer! ↩︎
-
In fact, I do not make any money from it, primarily because I believe that the taxpayer should be able to see me talk since they pay for my generous salary. ↩︎
-
At least in comparison to using your built-in microphone! ↩︎
-
For my younger readers: this is what we used to listen to music before Spotify. ↩︎
-
My employer provides a subscription to all Adobe products, for which I am very grateful. This solution does not scale, though, and I doubt that Premiere is worth the money for some lectures. ↩︎
-
Although I should remind myself to donate more often to open-source software projects. ↩︎